

Dear Adventure Avenue,
I know this is not my typical travel post, but since we are now required to wear a mask due to COVID-19 when we go out, I thought I’d post a “how to” if you have some sewing skills you want to put to use.
What you’ll need:
- cotton fabric
- Fusible interfacing
- 1/4th inch Elastic (12inches worth) or extra fabric
- A ruler
- Scissors
- Sewing machine
- thread
First you want to start by cutting out 2 rectangles from your cotton fabric. I found the best size was 8.5in by 6.25in. (The quarter inch is for the seam allowance).

Then you want to cut and fuse your interfacing onto the wrong sides of your fabric.

Then you will put the right sides of the fabric together and sew along the top and on the bottom of the fabric. On one of those sides, leave a little opening so that you can flip the fabric back to the right side at the end.

Then you will need to cut 2 pieces of elastic to be 6 inches. I used 1/4th inch elastic.
If you don’t have elastic you can also cut 4 strips of fabric– I made mine 14.5in by 2inches. You will have to sew the strips so that the edges of the fabric are on the inside. This means you fold the edges of both sides of the strip before sewing them together. I used a zigzag stitch to keep the strips from coming undone. This picture shows a step by step visual of making the straps:

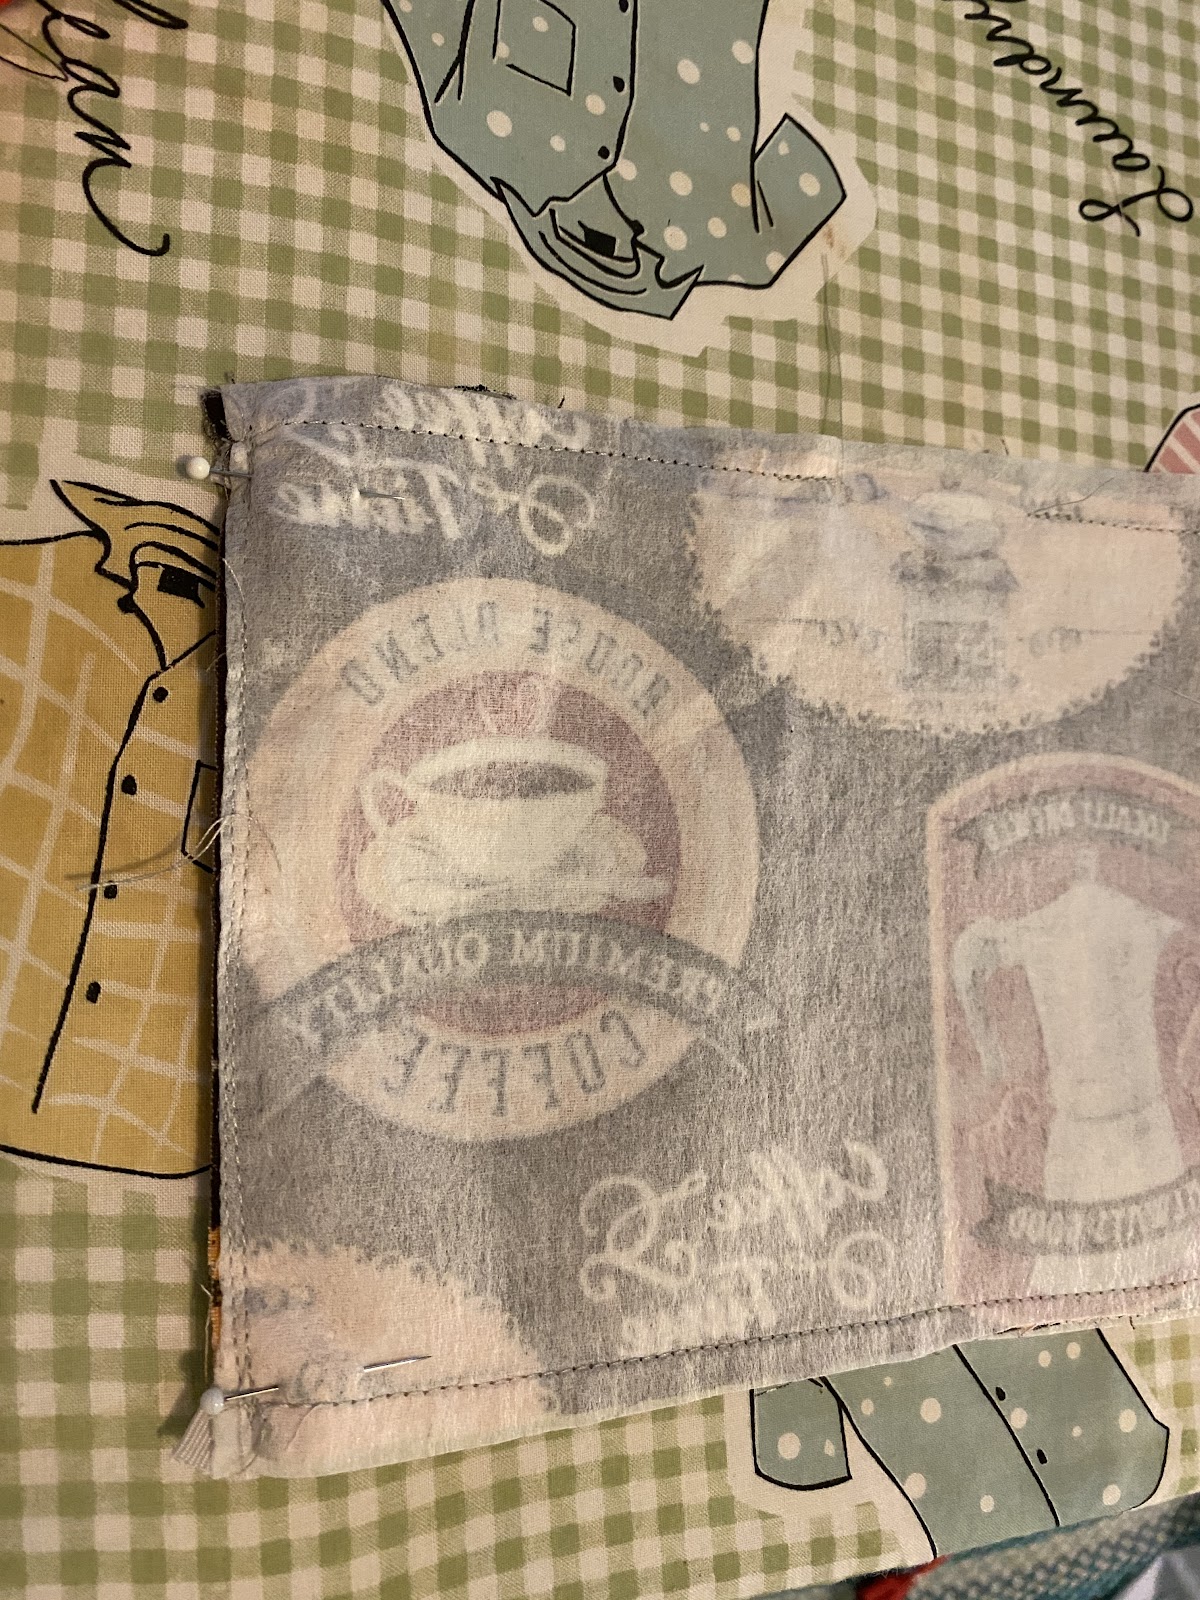
Then you will place your elastic in the corner of your fabric. One piece on each side. Make sure that the elastic lays flat. Pin on each side. It’s okay to let the elastic poke out the sides.
If you are using the strips, one strip goes in each corner of your fabric.

The elastic or strips will be inside the fabric when you sew it into place.
My picture demonstrates the use of elastic and strips; however, do not use elastic and strips. Choose one type and do the same thing on both sides.
After you have pinned your elastic or strips in place, it is time to sew. The white pins on the next picture demonstrate where your elastic or straps should be. Make sure to back sew over the elastic or strips to make sure to really secure the elastic in place.
After your elastic has been secured in place, you can now return the fabric so that the right sides are visible. You should be able to do this by pulling the corners out of the small opening you left earlier.

Now it is time to make the pleats. I found the best way to make the pleats is to start from the bottom and fold up and then back three times.

It should look like this when you finish your three pleats.

After you have pinned pleats in both sides, sew all around the mask, taking care to sew the hole closed.
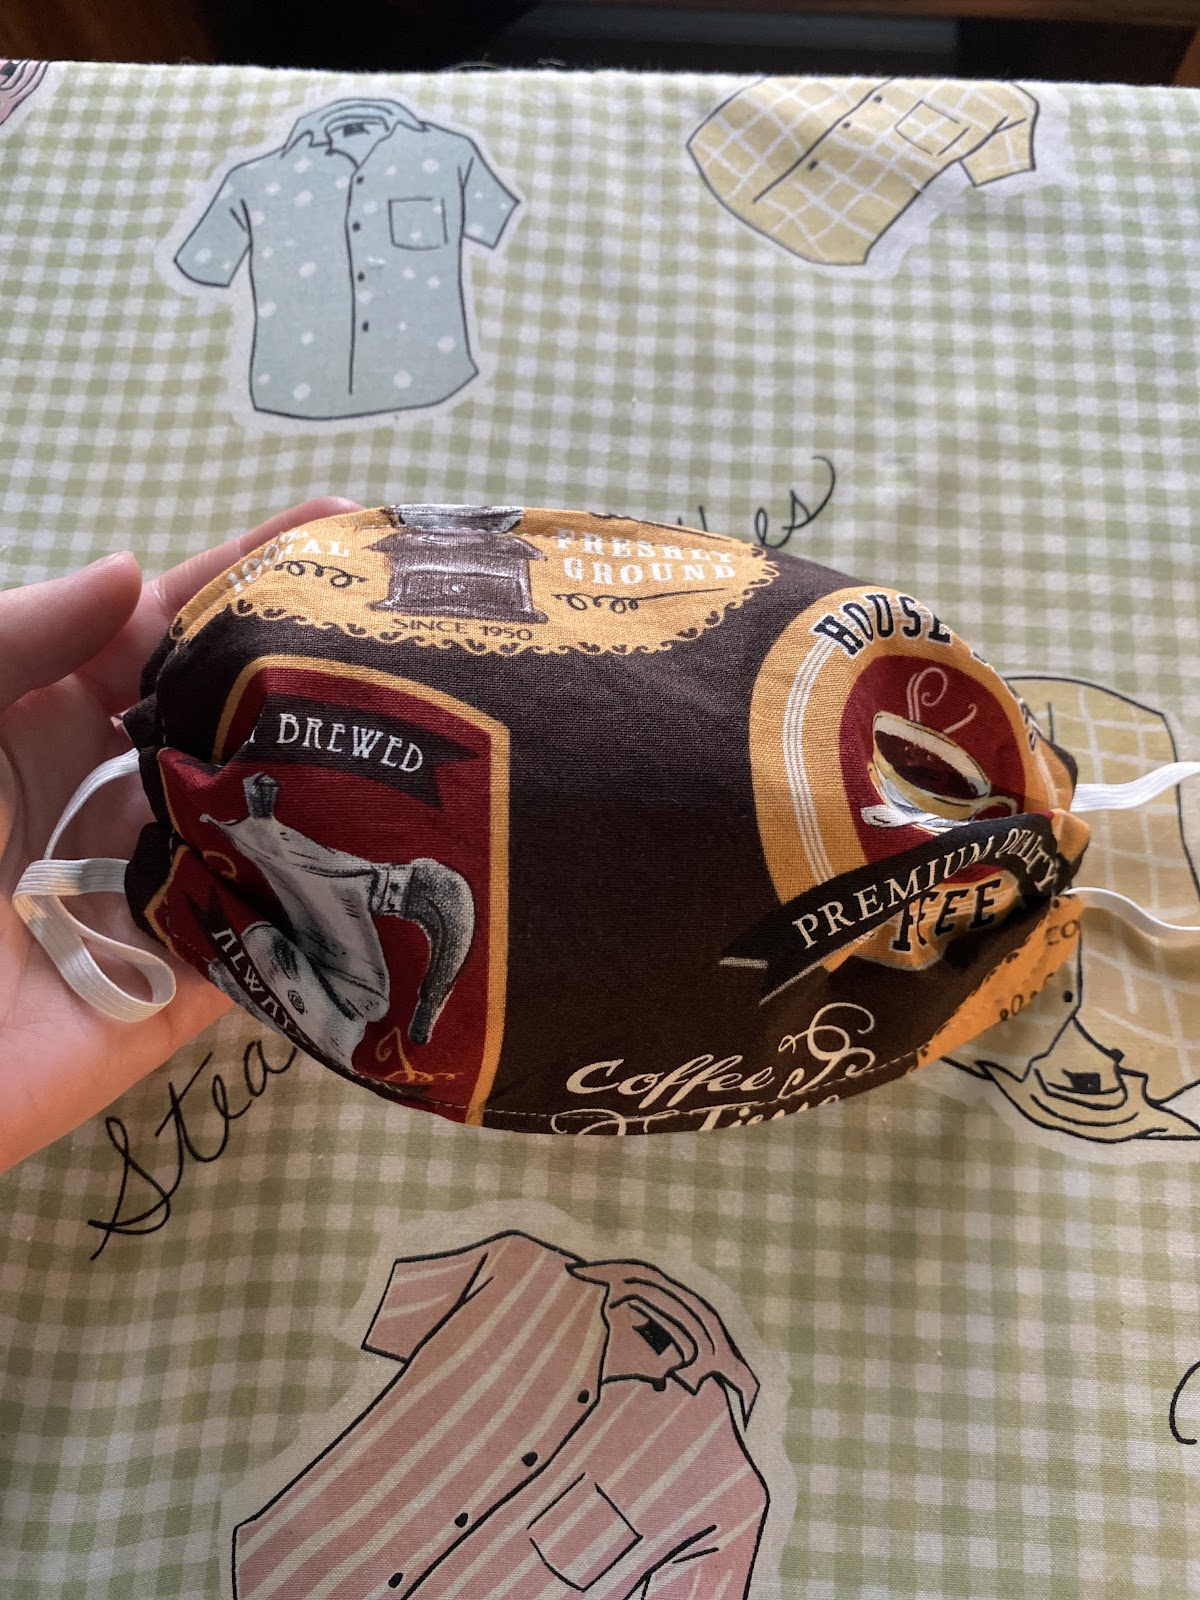
Now your mask is finished!
Stay Safe,
A
Note: If you need to make a smaller mask for a child (or if you have a small head). This polka dot one only uses 2 pleats and the cotton and interfacing rectangles are 7.5in by 5.5 inches. Everything else I kept the same with the strap. If using elastic, shorten to 5 inches.

Leave a Reply